How to Lay Block Paving
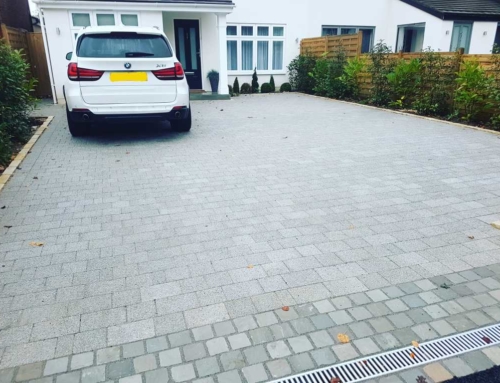
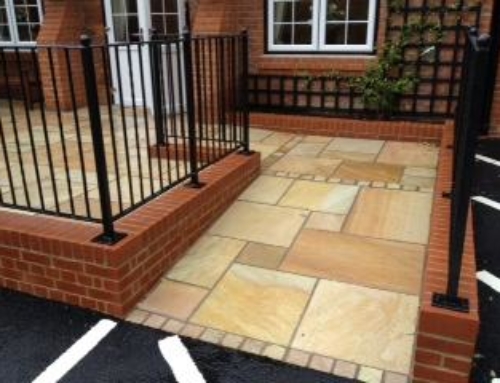
Block paving is a very popular choice for properties all over the world, providing a smooth, high quality appearance combined with durability and a long lifespan. A completed block paving patio or driveway can look fantastic, but what about the work that goes into laying the paving? This article will detail how to lay block paving for your home or commercial property.
Step 1 – Prepare the site
There are different methods of site preparation that vary depending on the size of your site. If you have a small site, then you may be able to do this using a shovel, whereas if you have a large site, you may need a mini excavator. All topsoil and vegetation should be removed to a depth of 250-300mm.
Once the site has been prepared, take care to remove all waste materials, too. Using mini excavators for preparation should only be undertaken using the appropriate safety wear and by following the manufacturer’s guidelines.
Step 2 – Edge Restraints
Edge restraints need to be bedded into 100mm of concrete, and then paved using block kerbs or concrete edging. A 45 degree haunch should be placed up the side of the restraint, at about half the block or kerb height, to keep the blocks and sand still.
Step 3 – Levelling strips
Timber levelling strips, placed approximately one metre apart should be used to form a bay for the blocks. These strips need to be exactly as deep as the sand, which can vary depending on how you have compacted it. A plate compactor reduces sand by 15mm, and bedding in blocks by hand reduces it by 10mm. The sand needs to be spread perfectly across the bay and levelled off exactly in line with the strips.
Step 4 – Remove strips
After repeating step 3 to create two or three bays, remove the timber strips. Fill the gaps that they have left with sand, using a trowel, taking care to ensure the surface stays totally flat.
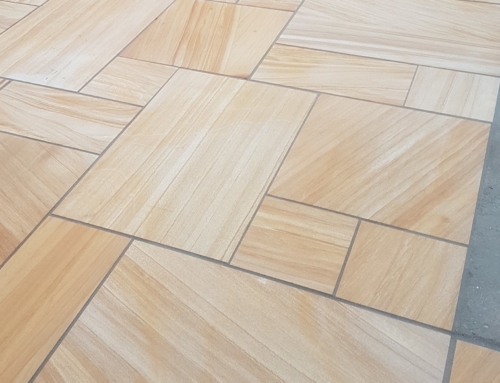
Step 5 – Lay the blocks
Lay the blocks in the pattern that you have chosen, starting from a corner. A recommended method of application is to kneel on some timber, in order to spread your weight across the blocks and prevent the from sinking. Ensure there are no joints and the blocks are as tightly pressed together as they can be.
Step 6 – Compacting
Using a compactor or a club hammer and a piece of timber, you should ensure the blocks are firmly pressed into the sand. Adjust the sand bed where necessary if the blocks sink too low or you are having trouble compacting them. Carry out this process in two square metre sections.
UK Surfacings Ltd are experts in providing high quality surfacing work for domestic and commercial clients alike. If you would like to know more, please feel free to get in touch with us today.